
Navigation menus are extremely powerful in ProPhoto. You may create as many menus as you want, and then place them in your layout editor using Menu Widgets.
Create or edit a menu structure
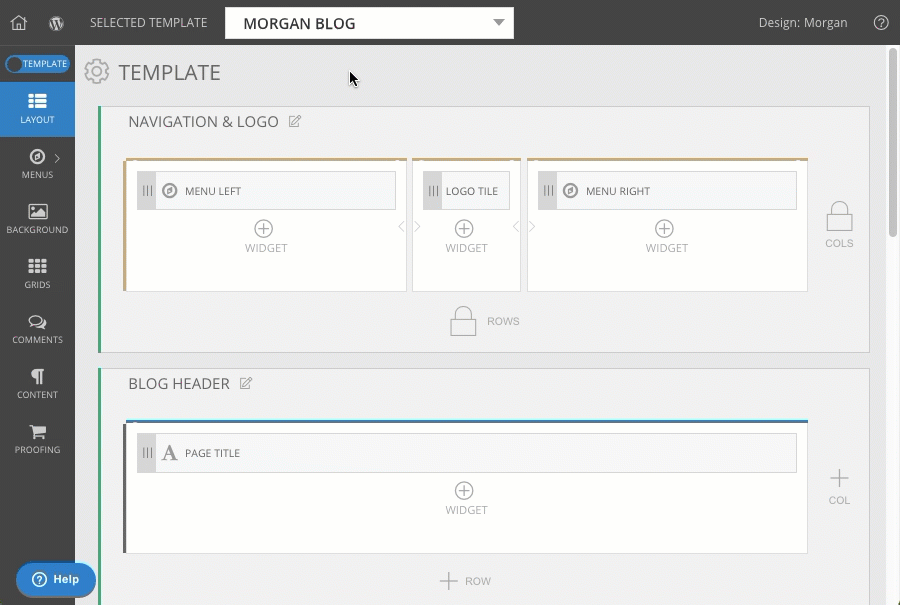
To create a new menu structure, toggle the Customizer to Design settings, and navigate to the Menus screen, seen here:
Create a fresh menu structure by clicking the New Menu button up top. Provide a name to help you organize your menus. Menu names aren’t shown on your site, but it’s a good idea to give each one a descriptive name. For example, “Left Sidebar Vertical Menu” is more helpful than “Menu #2” when you’re selecting which one to use in your menu widget later on.
Or, edit an existing menu by selecting it from the dropdown up top. Typically, it’s easiest to edit an existing menu that is already in use by your design than to create a new menu.
Add a menu item
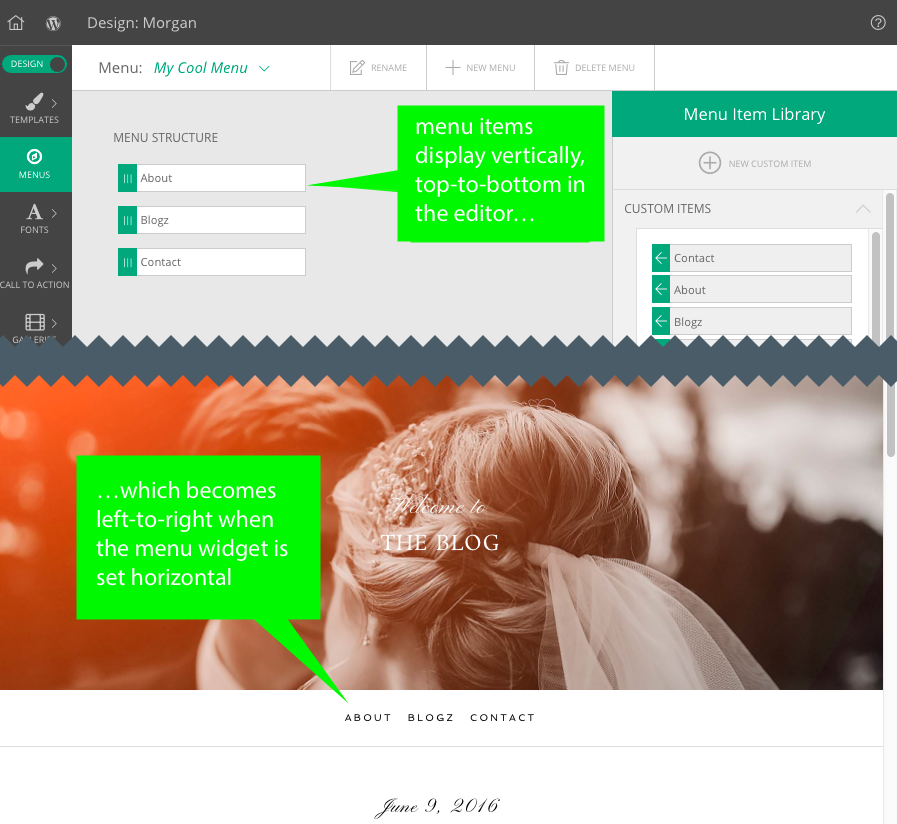
Click and drag any of your available menu link items from the Menu Item Library into the selected menu structure. Even though they are displayed in a vertical list in this screen, you may choose to display links in a vertically or horizontally when you create your menus widget.
Add multiple pages or galleries at once
If you want to add one or more WordPress pages or ProPhoto galleries to your Menu Structure, scroll to the bottom of Menu Item Library where you can check each which you want to add all at once. Click Add Selected to insert them into your menu in one step.
Menu orientation
It should be noted that displaying a menu horizontally will display links left-to-right on the site, corresponding to the top-to-bottom order in the Menu Builder screen.
Rename or delete a menu structure
- To rename any existing menu structure, just click the rename icon. Type in a new, helpful name for the menu.
- To delete any menu structure you no longer need, you can click the delete menu icon.


