
Create a design copy
To begin, you’ll want to visit the “ProPhoto > Manage Designs” screen in your ProPhoto software, and scroll down to locate the included Crafted design. Click the Create New Design button to make a copy.
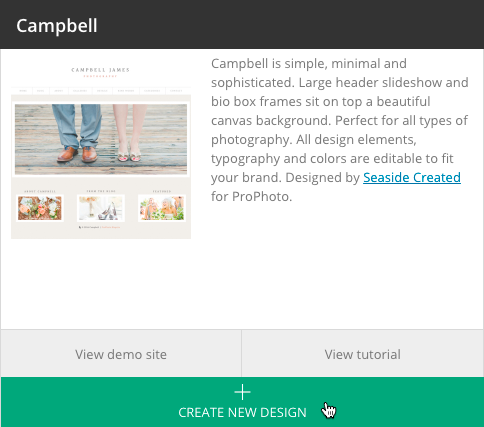
A popup will allow you to give your new copy a unique name and description so you can find it easily later. Click Copy and the new copy will be added to your other saved designs further up the screen. When you’re ready, click Customize to start working with Campbell privately.
Customizing vs Go Live designUse the on-boarder
Use the ProPhoto on-boarding wizard to setup a design with the basics. When you activate the design from "ProPhoto > Manage Designs" (or when you click the Setup button in that screen) you will be guided through the setup of a few key items, including:- the front page for your WordPress setup
- assignment of ProPhoto templates to pages in WordPress
- linking of menu items to WordPress pages
About the layout editor & templates
If you aren’t already familiar with the Layout Editor or how it works, you’ll want to learn a bit about it before you modify the Campbell design. We have plenty of info in our Layout editor guide.
We also recommend learning about page Templates, since the Campbell design includes several Templates. See our Designs & Templates guide for more information.
Create your own pages and menu links
The Campbell design includes a number of default menu items that you will setup in the on-boarding wizard, but you are free to edit, delete or add to your menu.
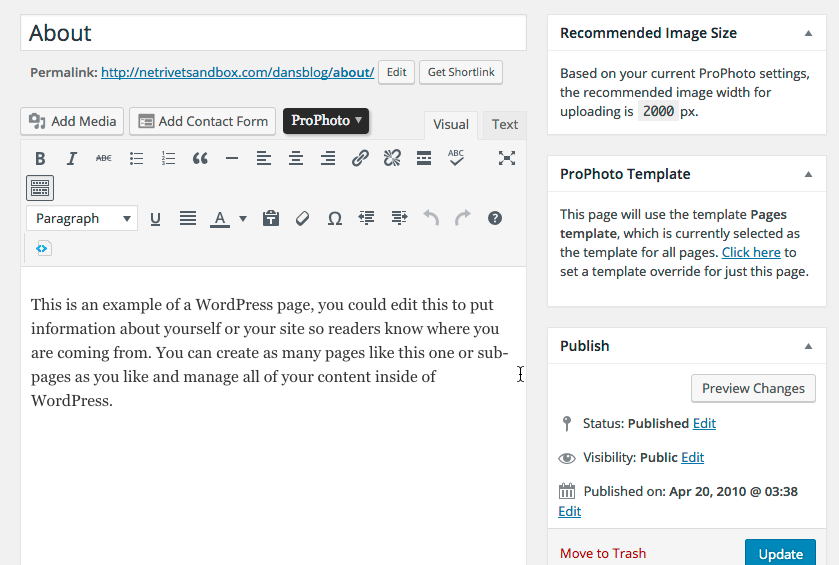
To create a page, go to “Pages > Add new” in WordPress and create a new page. For example, an About page:
Then, go to “ProPhoto > Customizer > (toggle top-left switch to “Design”) > Menus” where you can link to the page you’ve made.
We recommend using the Page link menu item for each page you create. Use this same workflow for each page you want to link from your menu – first creating a WordPress page, then adding or editing a menu item to link to it.
Locate and edit the Campbell page templates
By default, the Campbell starter design includes several different page templates which are applied to specific page types. They include a Pages template, an Individual blog post template, a Blog posts template and a Home page template.
To edit any of these page templates, you can use the dropdown selector seen at the top of the Customizer:
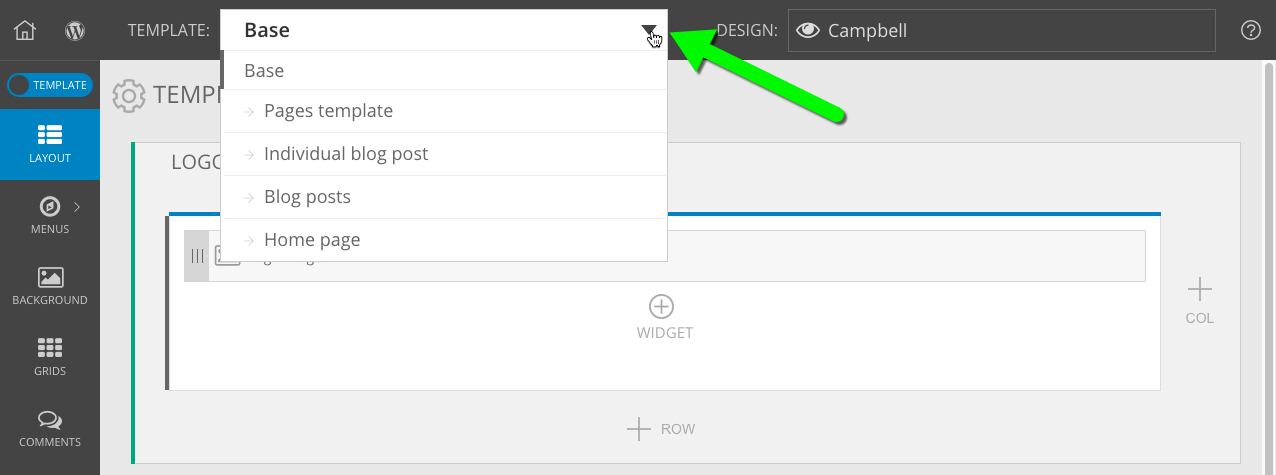
As their names indicate, these page templates are used for their corresponding page types in the “ProPhoto > Customizer > (toggle top-left switch to “Design”) > Templates > Template Assignments” screen.

Use this area to apply templates in any way you want – for example, to change the template used for your blog posts page or for your static homepage of your site.
Our Apply templates to pages guide also explains how you can apply specific templates to specific individual pages of your site.
Edit graphics created with tiles
Many of the graphic elements in the Campbell design (like the logo, About/Blog/Featured buttons and social media icons) are created as Tiles. You can edit these Tiles by going to the “ProPhoto > Customizer > (toggle “Template” to “Design” at the top-left) > Tiles” area.
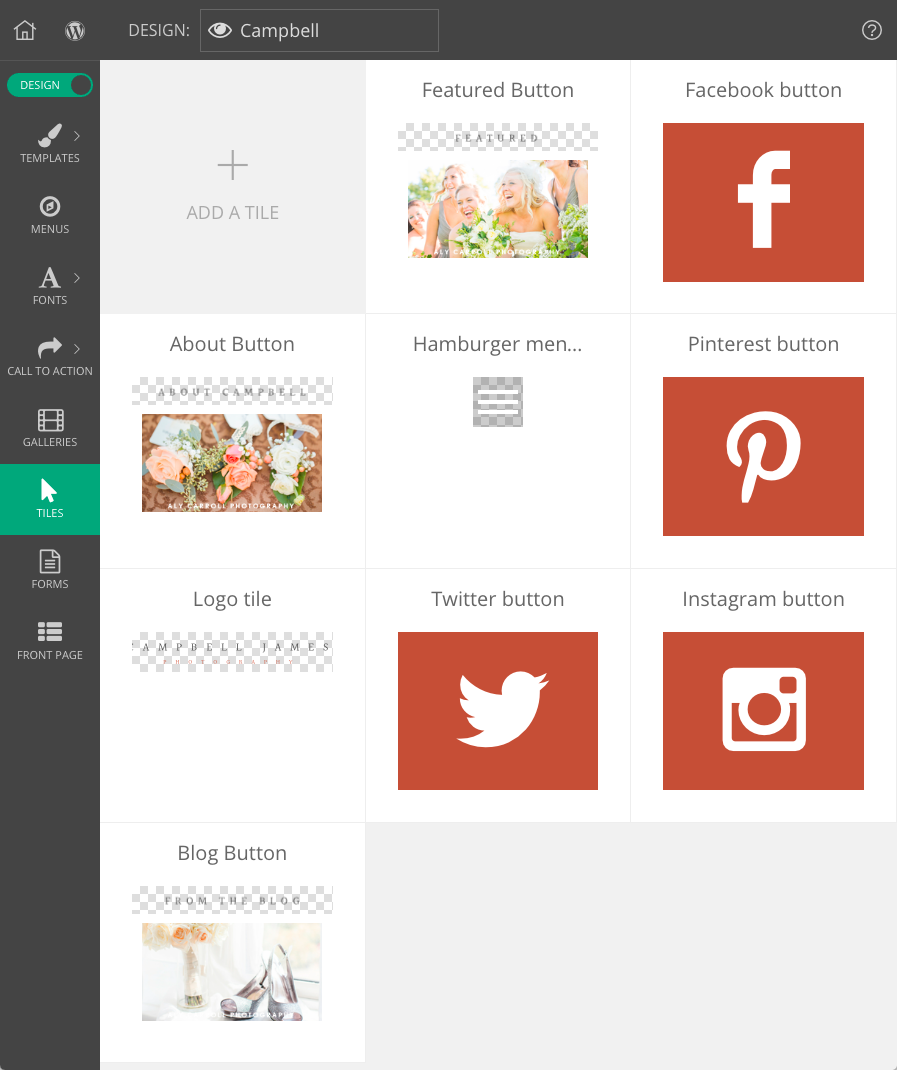
For example, you can easily tweak the original color used for social media icon tiles, or you can edit the text used in the logo tile design by selecting the different text layers and type in your own text, seen in this short video clip:
To learn about editing image layers, changing styling, creating hover effects & animation, and much more, see our Tiles guide.
To use tiles, you’ll usually create a widget in your layout – see our Graphics widget guide for more info.


