Create a design copy
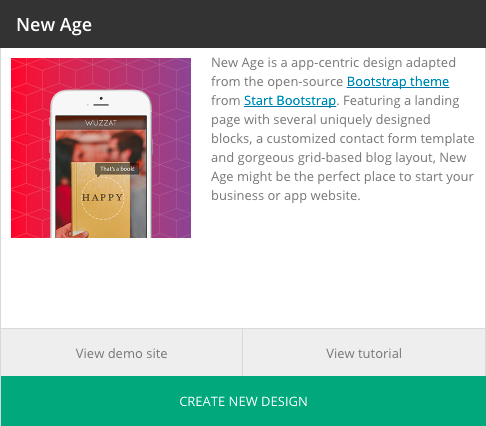
To begin, you’ll want to visit the “ProPhoto > Manage Designs” screen in your ProPhoto software, and scroll down to locate the included New Age design. Click the Create New Design button to make a copy.

A popup will allow you to give your new copy a unique name and description so you can find it easily later. Click Copy and the new copy will be added to your other saved designs further up the screen. When you’re ready, click Customize to start working with New Age privately.
Customizing vs Go Live designUse the on-boarder
Use the ProPhoto on-boarding wizard to setup a design with the basics. When you activate the design from "ProPhoto > Manage Designs" (or when you click the Setup button in that screen) you will be guided through the setup of a few key items, including:- the front page for your WordPress setup
- assignment of ProPhoto templates to pages in WordPress
- linking of menu items to WordPress pages
About the layout editor & templates
If you aren’t already familiar with the Layout Editor or how it works, you’ll want to learn a bit about it before you modify the New Age design. We have plenty of info in our Layout editor guide.
We also recommend learning about page Templates, since the New Age design uses them for different pages of your site. See our Designs & Templates guide for more information.
Setup a front page
The New Age design is intended to have a static front page and separate blog page to display your posts. You should have set this up already when you worked through the On-board guide for the design. If you weren’t able to do this for any reason, you can also set it up in the “ProPhoto > Customizer > (toggle top-left switch to “Design”) > Front Page” area, using the front page settings there.
Once your static front page is created, you will need to locate it in the “Pages > All Pages” area, click to edit, and check the box to hide page content:

Update the page and now the only items shown on the front page of the site will be those widgets in the Home Page template of the design. (More on this in Step 4 of this guide.)
Setup additional pages
The static front page of the New Age design is intended to act as sort of “single-page site” design, whereby a lot of information that is provided by the site design is shown right on the front page. But there are a couple of other pages that will be needed for the design, if you didn’t already create them when using the On-board wizard.
To create theses pages, go to the “Pages > Add new” area in WordPress and create the following pages, if they don’t already exist:
- Blog
- Contact
Your Blog page will automatically be styled by the Posts Page template. When you create the Contact page though, you’ll want to assign the design’s Contact template to it, as shown in our template assignment tutorial. And similar to your Home page, you’ll want to set your Contact page so that the actual page content is hidden.
Editing the menu links
Several of the menu links of the New Age design (Download and Features) are set to automatically scroll to different sections of the front page by default. These are scroll-to menu link items, which take the visitor to a specific part of the home page. You should not need to edit these links at all.
The other links (Contact and News) however, are intended to link to specific pages (your Contact page and Blog page respectively). These should have been set up correctly when working through the On-board guide. But, if you need edit them in any way, you can do so by going to the “ProPhoto > Customizer > (toggle top-left switch to “Design”) > Menus” area. There, you can edit either of those page links in the Main Nav or Mobile Menu menu structures, as well as add or edit any other menu links that you’d like.
Personalize front page content
Now that you’ve got the content and menu links squared away, you are ready to begin customizing your site. As mentioned previously, the New Age design uses a specific template with specific widgets to display the content of the front page. This template, Home Page, can be accessed right from the “ProPhoto > Customizer > Layout” area.
The template includes the following blocks of widget content:
- HERO BLOCK – This is the top block of the front page which contains the tall background image, along with the logo, menu and text blurb/graphic.
- SPACER BLOCK – This block can basically be ignored and is created to help the Sticky Menu block (discussed next) to display as it does.
- STICKY MENU – This block contains the logo and menu that sticks to the top of the site as you continue to scroll further down the front page.
- DOWNLOAD APP BLOCK – This is the yellow background block that contains the text about downloading the product.
- FEATURES BLOCK – The white background block that explains the features of the product via text widgets and graphic widgets.
- GET STARTED BLOCK – This block contains the “Let’s Get Started” graphic widget, which links to the site’s Contact page.
- WORDPRESS CONTENT – This block can also be ignored and would only be used should you choose not to hide the content area of your home page, as discussed above.
- SOCIAL MEDIA – The last block on the bottom of the home page, this is where the social media graphics/links are located.
To help in locating and editing these blocks and widgets as quick as possible, we strongly recommend you use the ProPhoto Bar tool that is provided.
Personalize other templates
Similar to the Home Page template, you can edit the other templates included in the design by selecting in the “ProPhoto > Customizer > Layout” area and/or by using the ProPhoto Bar.
Edit graphics using tiles
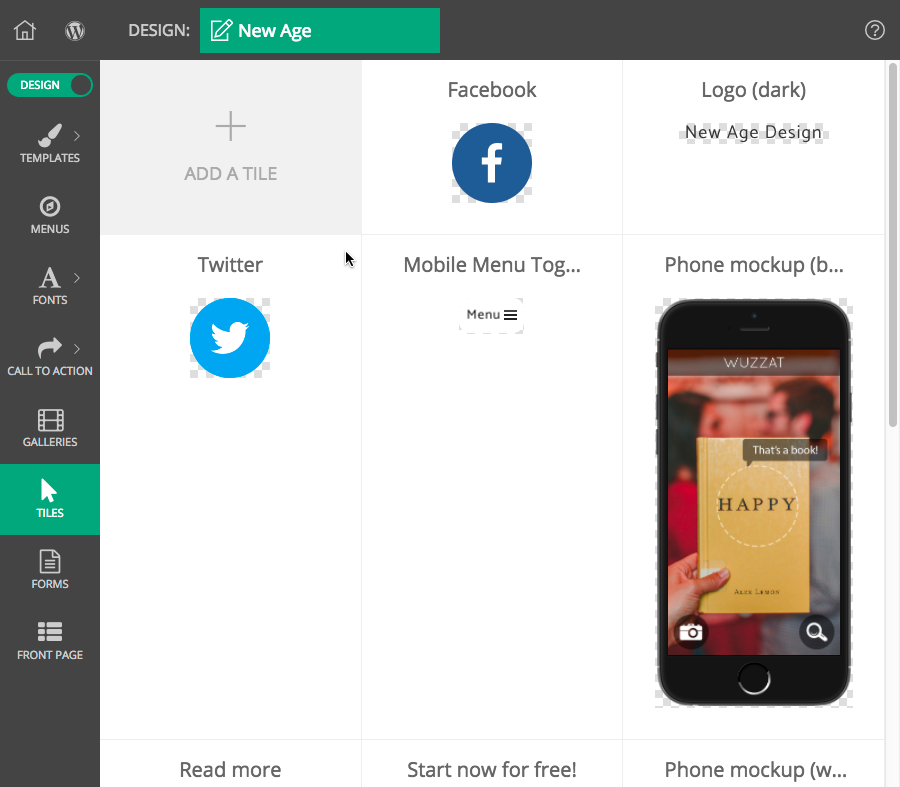
This particular design contains various graphic elements that were almost all created using the Tiles functionality in ProPhoto. These include the logo, social media icons, product screenshots, mobile menu icon, and other items.
To edit, go to the “ProPhoto > Customizer > (toggle top-left switch to “Design”) > Tiles” area and there you will see these items, which you can click to edit.

Tiles are a very powerful and flexible tool, so before you start editing, or creating your own, you may want to check out our Tiles overview guide.


