
Create a design copy
To begin, you’ll want to visit the “ProPhoto > Manage Designs” screen in your ProPhoto software, and scroll down to locate the included Square design. Click the Create New Design button to make a copy.
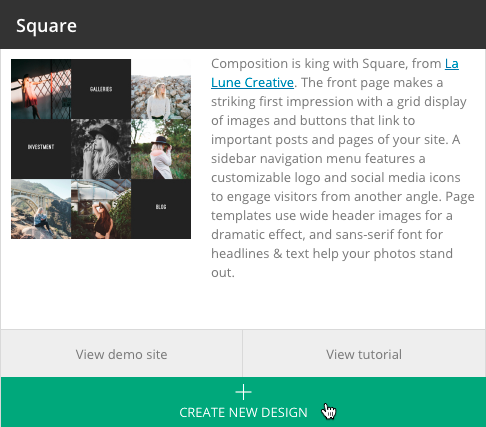
A popup will allow you to give your new copy a unique name and description so you can find it easily later. Click Copy and the new copy will be added to your other saved designs further up the screen. When you’re ready, click Customize to start working with Square privately.
Customizing vs Go Live designUse the on-boarder
Use the ProPhoto on-boarding wizard to setup a design with the basics. When you activate the design from "ProPhoto > Manage Designs" (or when you click the Setup button in that screen) you will be guided through the setup of a few key items, including:- the front page for your WordPress setup
- assignment of ProPhoto templates to pages in WordPress
- linking of menu items to WordPress pages
About the layout editor & templates
If you aren’t already familiar with the Layout Editor or how it works, you’ll want to learn a bit about it before you modify the Square design. We have plenty of info in our Layout editor guide.
We also recommend learning about page Templates, since the Square design uses them for different pages of your site. See our Designs & Templates guide for more information.
Setup a front page
The Square design is intended to have a static front page and separate blog page to display your posts. You should have set this up already by using the design On-boarding Wizard mentioned previously.
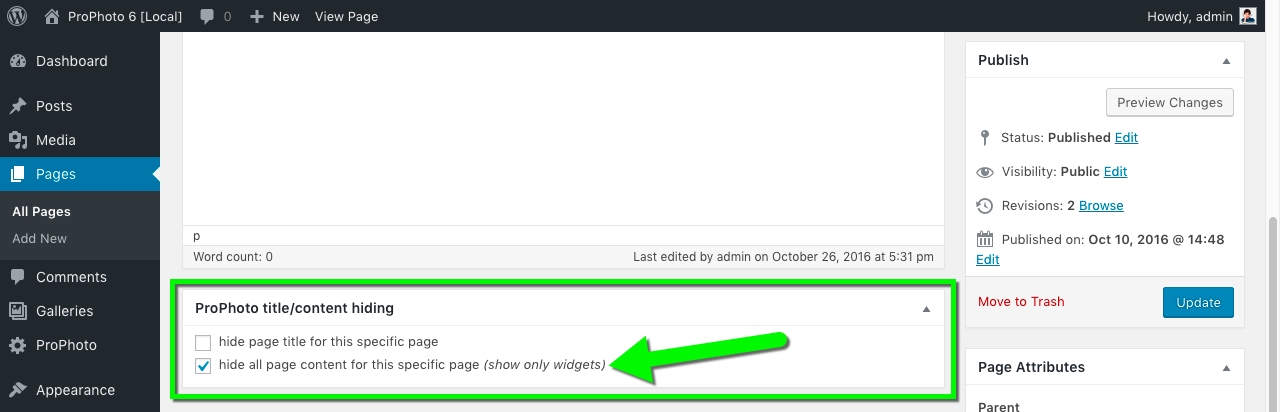
After creating the front page for your site, edit that page in WordPress and check the box to hide all page content, seen in this screenshot:
Update your page and ProPhoto will supply the content (the grid) for the front page after you’ve created the grid in the next steps.
Setup additional pages
The front page of Square is a grid which links to some posts and pages from your WordPress site. You should have setup these pages by using the design On-boarding Wizard mentioned previously, but if you did not, now is a good time to create them.
In WordPress, click “Pages > Add new” and create each of the following pages, if you do not already have them on your site:
- About
- Portfolio
- Investment
- Contact
Each of these pages will need to have a featured image supplied. This is the black graphic with white text, seen in the front page grid. You must click to download these images to your computer, and unzip the file. A .psd version is included for those that want to edit the text in Photoshop. The font is a free Google font called “Oswald.” Each corresponding image can be uploaded in the page editor in WordPress, as demonstrated in this video clip:
Similar to the front page steps above, you will also hide each page content with the checkbox, seen here:
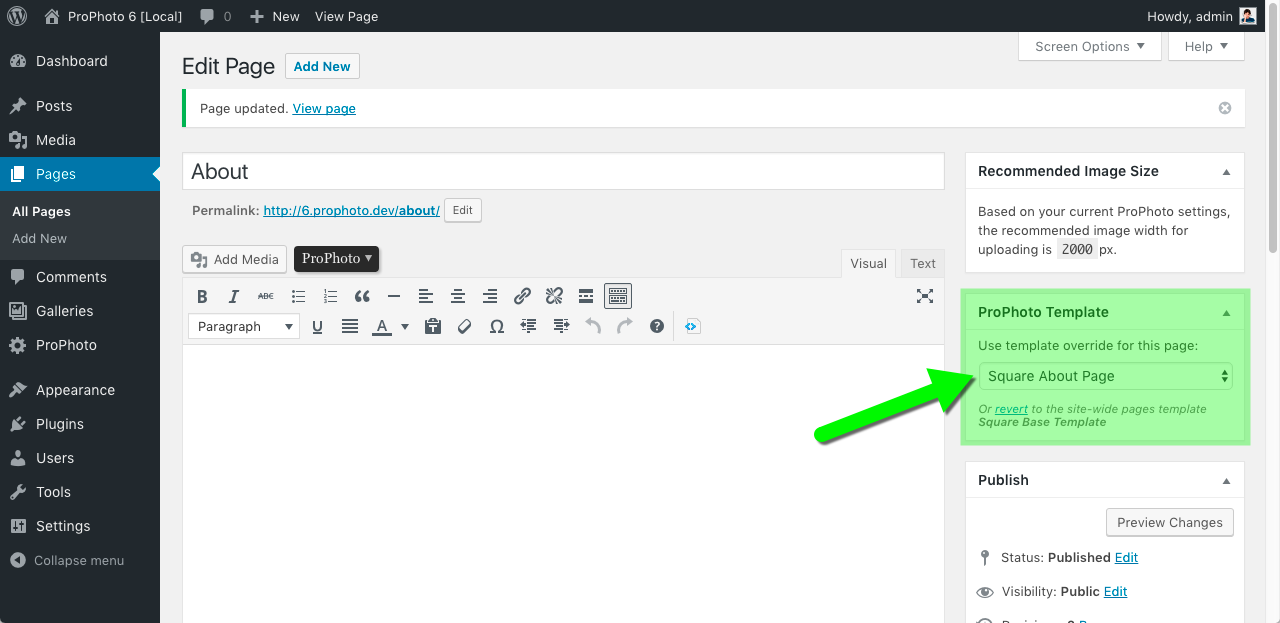
If you skipped the on-boarding wizard mentioned earlier, you will also need to apply the proper Square page template, seen in the side of your page editor like this:
Repeat the process for each page you intend to use or link from your front page grid in later steps.
Create some blog posts
When you are done with the pages, you may also want to create a few blog posts before you proceed to the next step – the front page grid you will create next steps will link to several blog posts. Having a few posts published ahead of time will be helpful when you proceed to the next step.
Editing the Square menu links
In earlier steps, the on-boarding wizard helps you link the menu to your pages, but if you skipped that step, you can return to the beginning of this guide to setup your design menu links again.
Otherwise, you can go to the “ProPhoto > Customizer > (toggle top-left switch to “Design”) > Menus” area any time to edit your menu. Select the Primary Menu in this screen to work on your links, demonstrated here:
We recommend using the Page link menu item for each page you create. Use this same workflow for each page you want to link from your menu – first creating a WordPress page, then adding or editing a menu item to link to it.
You may also work with the Sidebar – Archives and Sidebar – Categories menus, but these merely contain automatic menu items that you shouldn’t need to modify.
Personalize page content
Square makes use of page templates to create the content & layout for the pages it uses by default. (created in earlier steps)
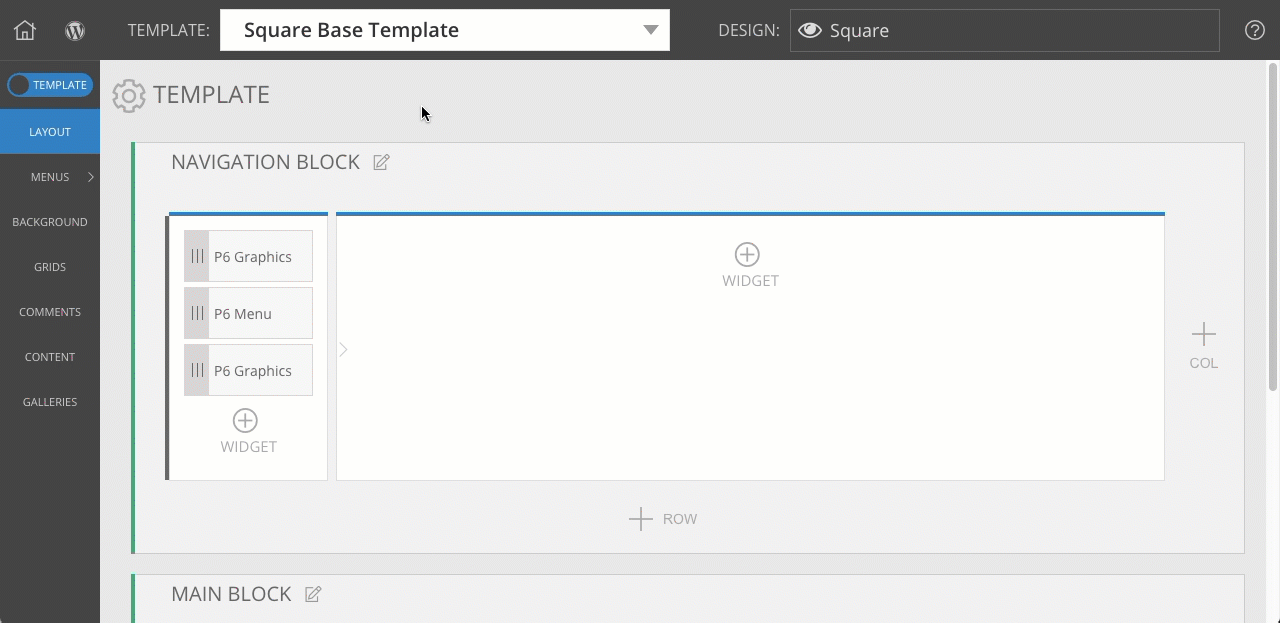
To edit specific pages used by this Square design, you’ll want to select a specific page template at the top of your Layout screen, seen here:
Then you can use the Layout Editor to customize the template.
You will have the easiest time finding and editing different parts of each template by using the ProPhoto Bar tool, so we strongly recommend using this tool to link directly to each part of each page template while viewing your page in your browser.
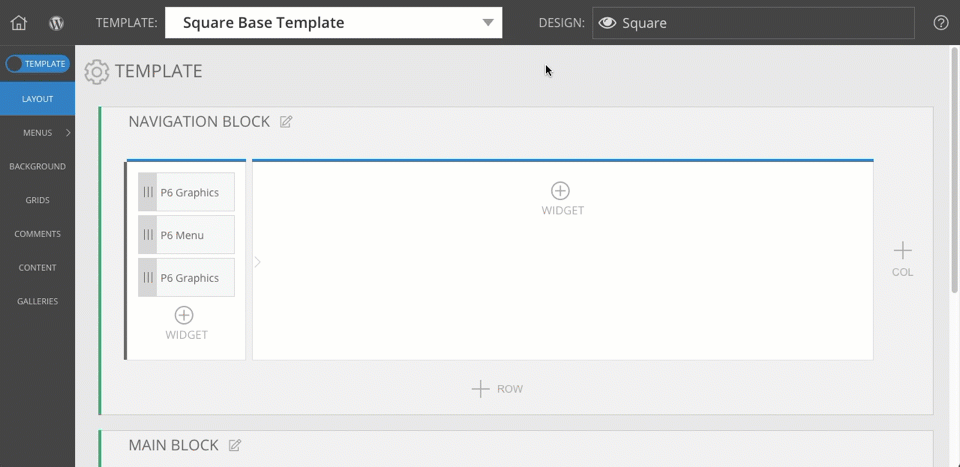
Header images on pages
One special note, the default image you see at the top of each of your pages is a Column Background image. Using the ProPhoto Bar, you can quickly find and replace background images, and you’ll discover that Square places them as background for the right column of your template navigation block at the top of the page layout.
Edit graphics using tiles
A couple of the graphic elements in the Square design are tiles. You can edit these layered composite graphics by going to the “ProPhoto > Customizer > (toggle “Template” to “Design” at the top-left) > Tiles” screen, as seen in this video clip:
These special composite graphics are made of layers of text, images, and shapes. You can use different colors, styling, hover & animation effects, and lots more, so we recommend learning how to work with tiles by checking out our Tiles guide.
For example, to change the text layers in the default logo graphic, select the text layers individually and type your own text into the sidebar editor box, seen in this screenshot:
![]()
If you have your own logo, you do not need to use a tile design at all – you can edit the graphics widget in your base template layout and provide your logo image in it’s place. For more info on this widget type, see our Graphics widget guide.
If you have questions about using different parts of your design, search this website for help, or contact us for guidance.


