
 ProPhoto Tiles are made of multiple layers of customizable text, shapes or images. You can even make a tile do cool things when you hover or tap them in your browser by editing the two states of your tile design – default and hover.
Some options are common between all the layer types, while others are available only for text layers, image layers, or shape layers. For details regarding custom tile hover animation and movement see our Add movement to a tile guide.
The tile editor supports undo (cmd/ctrl + z) and redo (shift + cmd/ctrl + z) to make experimentation easier, so have fun!
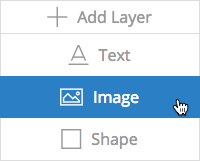
Image layer
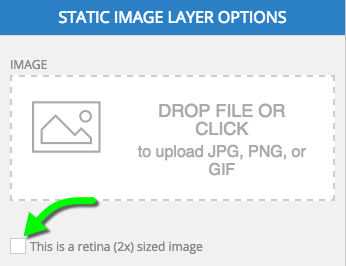 ProPhoto will automatically load a half-sized image for regular screens, and the full-sized image for high-density displays.
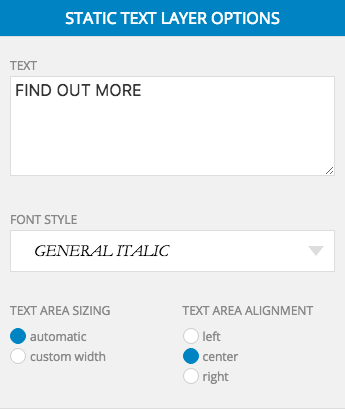
Text layer
Shape layer
Options shared by all layers and states
Layer management
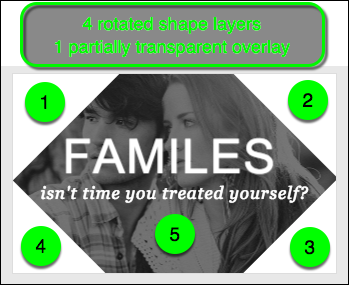
Much like Photoshop, layers that you create are listed in-order. You can provide your own label for each layer to help you keep track of each. You can drag-and-drop to change the order in which your layers stack up, so if you want text on top of an image, make sure the text layer sits on top of the image layer in the list.
The layer highlighted in blue is the active layer. Click and drag the layer to change its order. Click the eye icon to toggle a layer visibility on/off while you work. (this visibility is only for you while you design, and doesn’t affect how the tile appears on your site)
Positioning
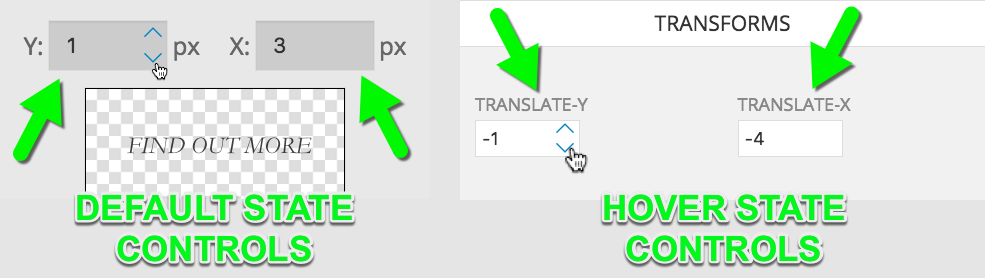
To reposition a layer in the default state or the hover state, select a layer in the list so it is highlighted, and drag-and-drop anywhere in the tile preview. Cmd + z to undo a reposition.
For fine-tuning position, use the X and Y option boxes above the preview to move the default position of the layer. The hover state has it’s own translation input boxes to help you modify where the layer sits when hovered.
Opacity
The opacity slider makes it possible to change how opaque the layer appears in each state. The slider goes from 0-1 with 0 being fully transparent/clear, and 1 being fully opaque.
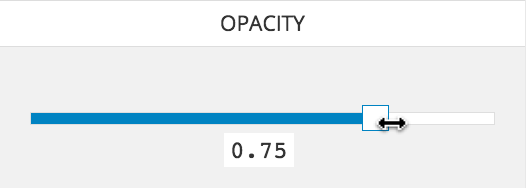
It’s common to reduce the opacity of an image layer in a tile so that a text layer is easier to see on hover.
For a layer to be invisible in it’s default state and only appear when hovered, the “default” state will get an opacity of 0 and the hover state will get an opacity greater than 0.
Scale
Scale will grow or shrink a layer in a single state. For example, accomplish a subtle zoom effect on your tile image layer when hovered by setting the scale for the hover state to a number above what is set the default state.

Avoid upscaling image layers too much or you will notice that they get blurry. Text and shape layers can handle any scale and look great.
Rotate
 The rotation number you enter here represents the degree of clockwise rotation applied to the layer. You can use any negative or positive integer for rotation, so you can type -90 to rotate a layer a quarter turn counterclockwise from normal, or 405 to rotate a layer an eighth turn clockwise from normal. Add another rotate value for the hover state and you can get some cool effects.


