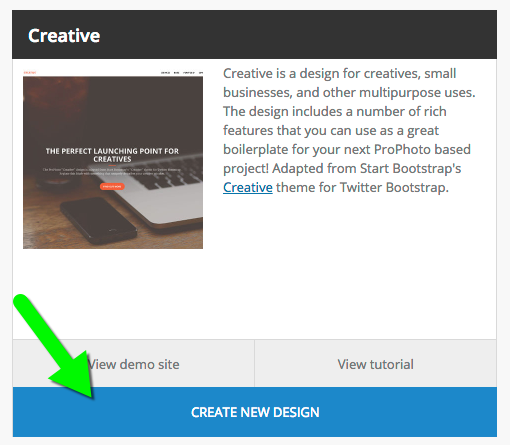
Although the Creative design is the one that ProPhoto starts with by default, we generally recommend starting with a new copy, just to make sure it’s set up correctly and that the onboarder tool has a chance to run. To begin, you’ll want to visit the “ProPhoto > Manage Designs” screen in your ProPhoto software, and scroll down to locate the included Creative design. Click the Create New Design button to make a copy.
After the assets download, a popup will ask you if you would like to create the demo WordPress pages and content. Most people should choose “continue” so that the starting point is as close to the demo as possible. 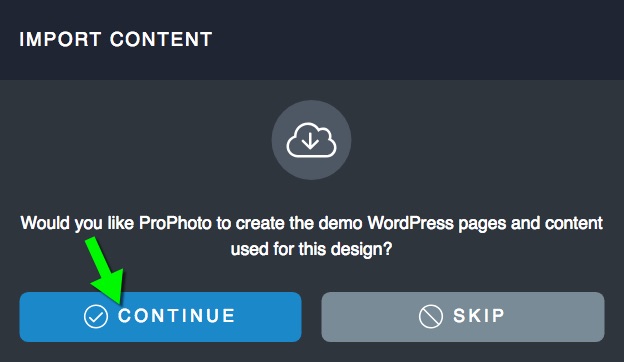
A popup will allow you to give your new copy a unique name and description so you can find it easily later. Click Copy and the new copy will be added to your other saved designs further up the screen. When you’re ready, click Customize (or Test Drive, if working in Test Drive mode) to start working with Creative privately.
Customize vs Go Live – 7
A simple automatic onboarding process happens when you activate the Creative design copy. ProPhoto will automatically create the three pages it needs, “Home,” “Blog” and “Portfolio.” You should see them in the “Pages > All Pages” area:
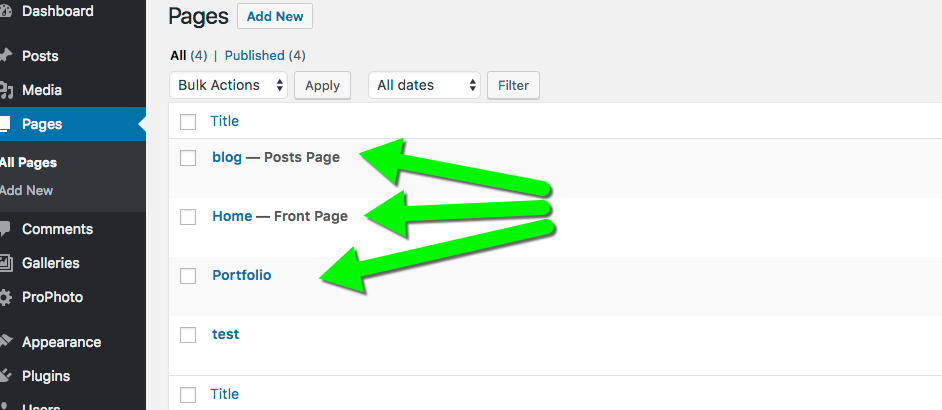
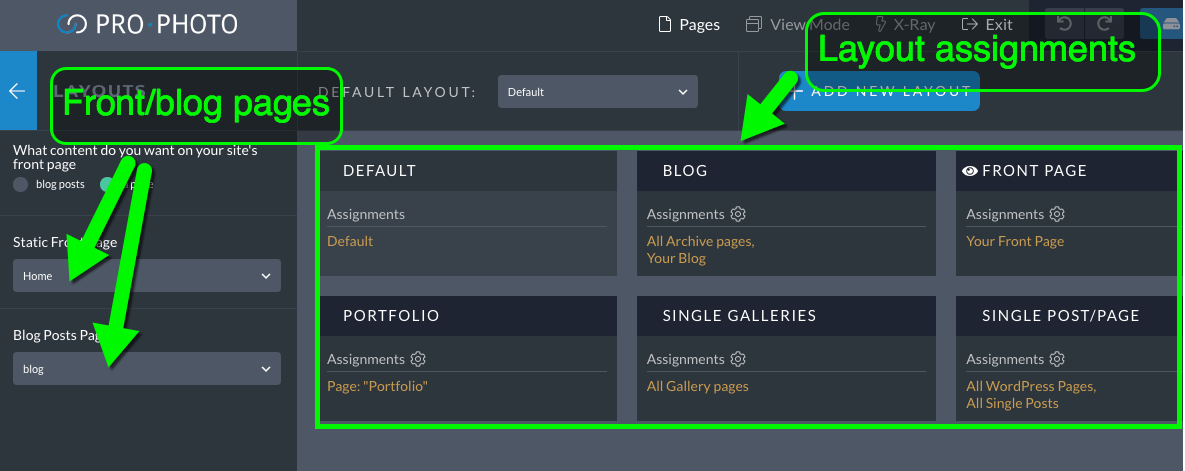
(If you happen to already have pages with those titles, the existing pages will be used.) The pages titled “Home” and “blog” will be designated as the “Static Front Page” and “Blog Posts Page” in the Layouts area of the Visual Builder. And all your pages will be automatically be assigned to their corresponding layout.
The links in the default menus will connect to these new pages, as well. What this all means is your site should look like the demo right out of the gate. Pretty awesome huh? 🙂
Later on you can create more pages, adjust what page is the home or posts pages and create and assign more layouts.
Creative comes with six layouts:
- Front Page – for the static front page
- Blog – for the main posts page and all post archive page types
- Portfolio – the layout for the “Portfolio” page
- Single Galleries – the default for all of the gallery pages
- Single Post/Page – the default layout for all individual post pages and WordPress pages
- Default – the Default Layout that pages get when one is not specifically assigned, we strongly recommend leaving this layout as the Default Layout
You can assign new layouts to other WordPress pages any time. We recommend copying the default layout for new versions.
If you don’t have any blog posts, now is a time to start publishing a few! Even if you create temporary dummy posts, it’s a good idea to have 5 or 6 so you can see how they will look in the grid on your home page, and on your main blog posts page. Add some text and at least one image to each post. Since ProPhoto Grids create thumbnails from the content of your blog posts, you may want to review how to use featured images. You can provide a specific Featured Image in your WordPress post editor for use as the grid photo. Otherwise, the first image in your post or the first gallery image will be used for the grid thumbnail.
When you have blog posts with images, galleries, or a Featured Image, your own photos will be used to create grid thumbnails::
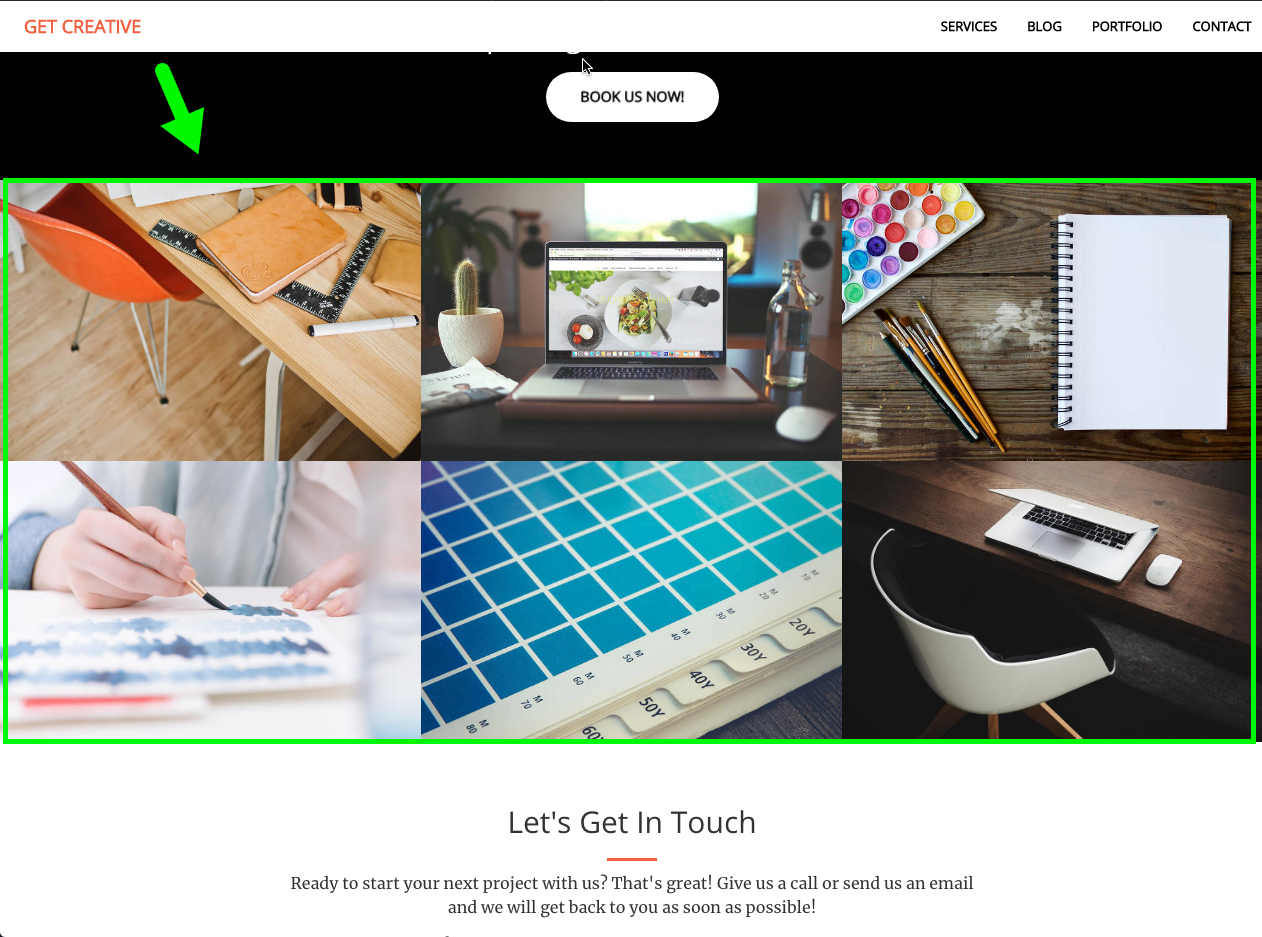
If no images for the post can be found, a fallback image is used instead. (Fallback images are uploaded to grid styles are edited in “Elements > Grids > Styles > Edit style > Advanced.”)
Grid appearance and behavior is controlled through each grid style. These are edited in “Elements > Grids > Grid Styles.”
At this point, it’s time to begin personalizing the front page with your own content using the Visual Builder. Enter the Visual Builder for the front page by clicking “ProPhoto > Customize” in the WordPress admin area or by clicking the Customize button while viewing the page. The Visual Builder is where you will make all your ProPhoto content and settings changes.
Edit logo and other graphics
To edit the default “Get Creative” logo at the top of the site you will want to click to unlock the “Main Menu” block at the top of the screen. Then, click to edit the graphics module that displays the logo. At this point, you can then edit the Tile itself:
Or, you can upload your own image to the graphics module directly.
You will use the same steps for editing other tiles that are used on the front page of the site, like the “Find Out More,” “Get Started!” and “Book Us Now!” buttons. Click to edit the graphic module, then locate the specific tile within the sidebar on the left to edit.
Edit background images and colors
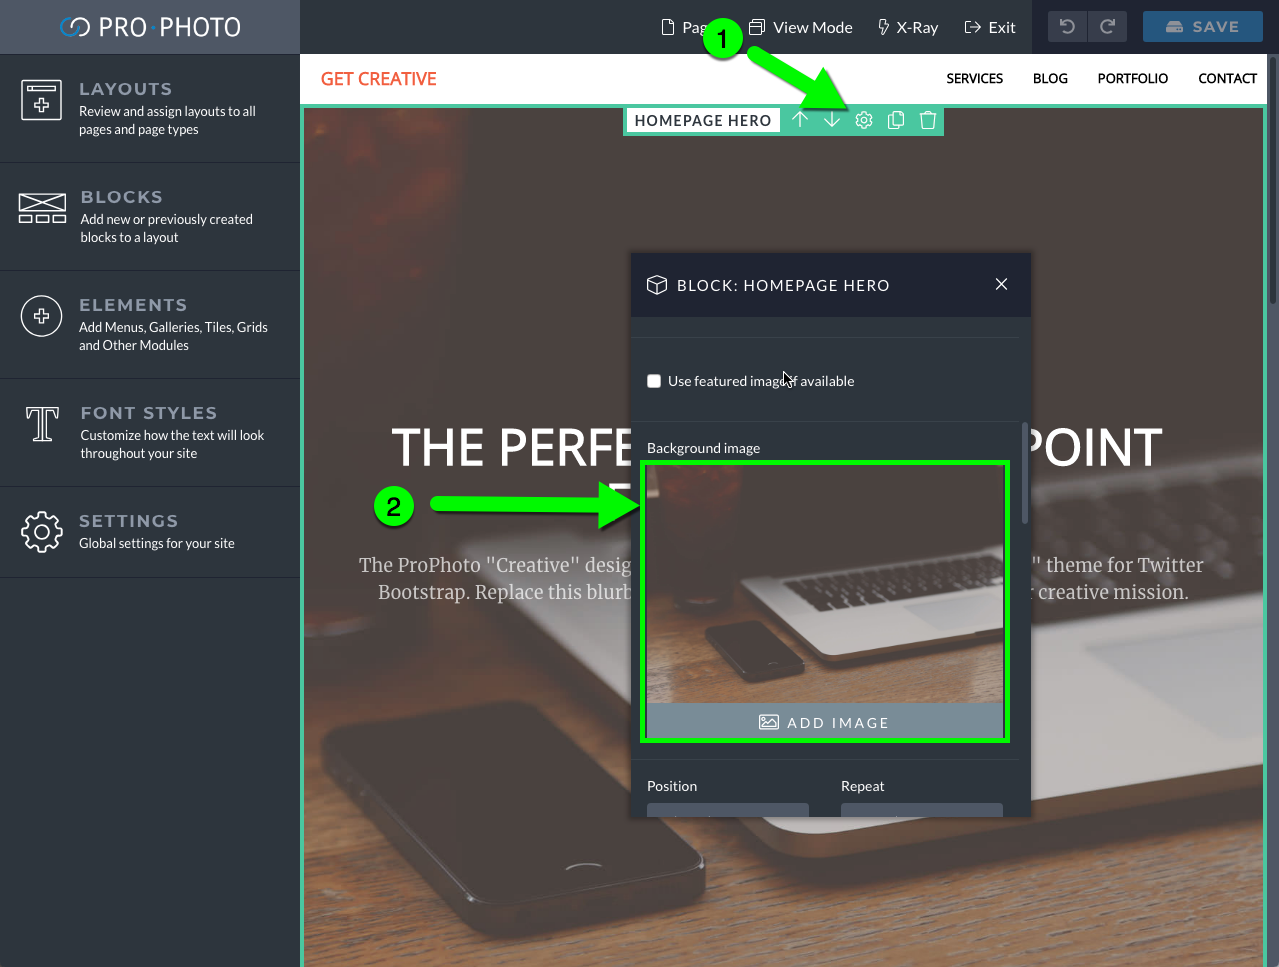
The large background image just below the logo and menu is the block background image for the “Homepage Hero” block. Click the gear icon in that block to edit and in the block’s “Appearance” settings, scroll down to the Background image and replace with your own.
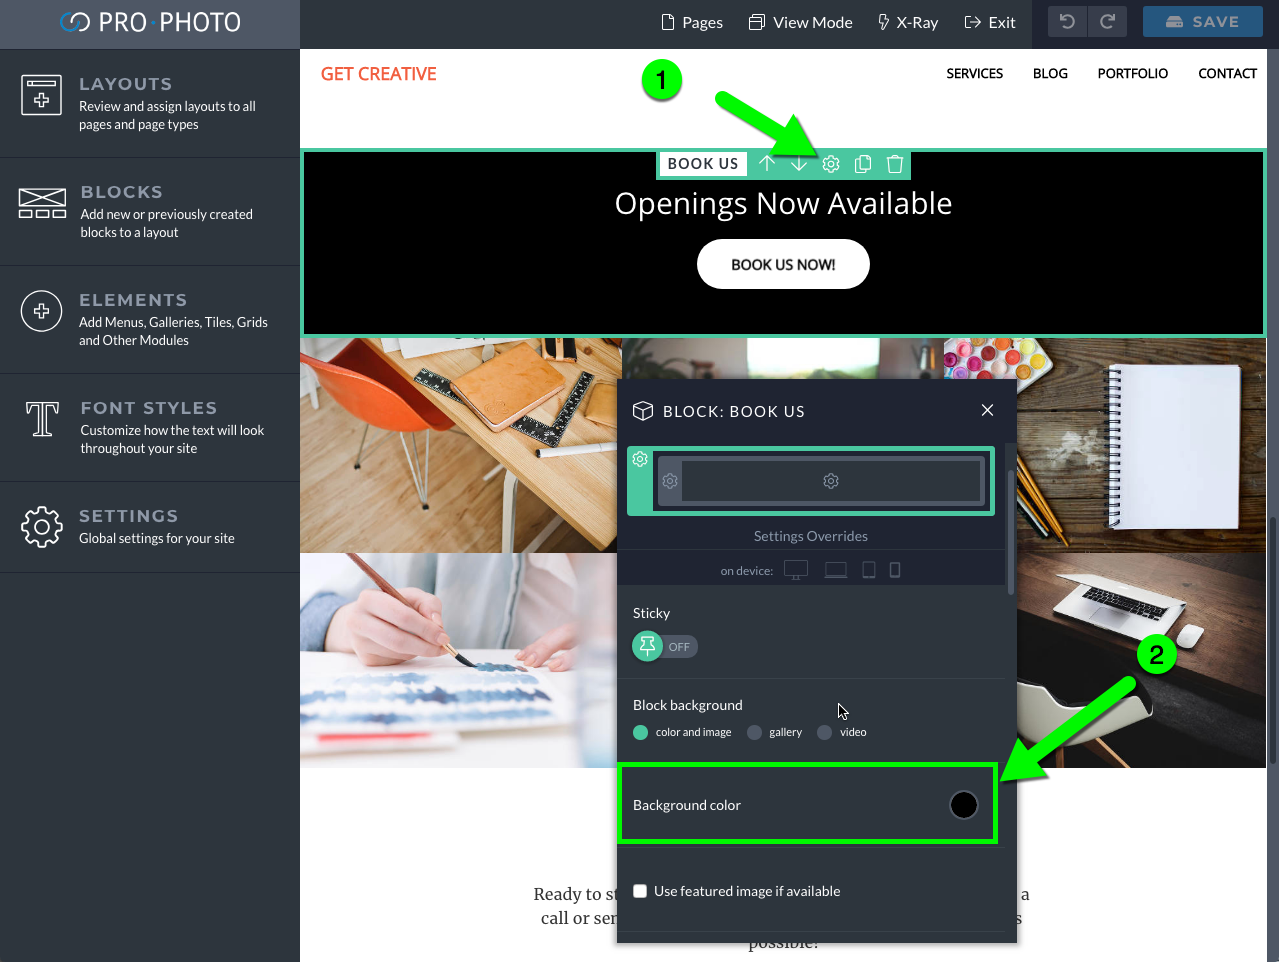
The “Contact Form” block in the Front Page layout also contains a background image like this, which you can replace. And the other blocks in the layout have their own block background colors that can be modified in the same manner.
Edit other layouts
You must be viewing a page to which a layout is assigned in order to edit it. Accordingly, to edit the “Single Post/Page” layout, you must be viewing a post or a page. To edit the “Blog” layout, view your main blog page. To edit your “Portfolio” layout, view the Portfolio page. And to edit the “Single Galleries” layout, go to the URL of a single gallery that you’ve created. (Galleries can be found in the “Galleries > All Galleries” area.)
Single Post/Page Layout
In the “Single Post/Page” layout (which is applied to all posts/pages), each post and page receives a header with a background image under the title. By default, the background image is just a default image, but the intention is that the image shown will be the first or featured image of the post/page. To ensure that functionality works like this, you’ll want to edit the “Post/Page Header” block and in the Appearance settings, check the “Use feature image if available” option:
Once you make that change and save, then that header image will show the first/featured image of that post/page.
Below that image/title is a block titled “Post/Page Content,” which contains a WordPress content module. This module is where the actual content of your post/page (as entered into the WordPress post/page editor) will display within the layout. Edit this module to adjust the style of the content displayed in that module. Review the content module overview for details.
Blog Layout
By default in the Creative design, blog posts are displayed as grid excerpts on the blog page. If you would like to change the excerpt style, or display the posts in full instead, you’ll want to go to the “Blog Header” block within the “Blog” layout and edit the WordPress content module as shown here:
Portfolio Layout
The “Portfolio” layout is very similar to the “Single Post/Page” layout. The main difference being that the “Portfolio” layout contains a block called “Portfolio Content,” where you can input text and any galleries that you’d like. Simply click on the text and gallery modules in that block to edit with your own items.
Single Galleries Layout
The “Single Galleries” layout (which is applied to individual gallery pages) is pretty straight forward and probably won’t need any customization. The layout consists of the “Main Menu” block, the “Post/Page Content” block and the “Blog Footer” block. The “Post/Page Content” block contains the WordPress content module, which is where your gallery will display.
If you have questions about using different parts of your design, search this website for help, or contact us for guidance.


