Once you have added a menu to your design’s layout, you can then click gear icon on the menu module to edit it’s appearance.
Within the menu module appearance settings, there are four main tabs of appearance tabs, and then another set of options depending on whether you choose to display the menu horizontally or vertically. The four main settings tabs are:
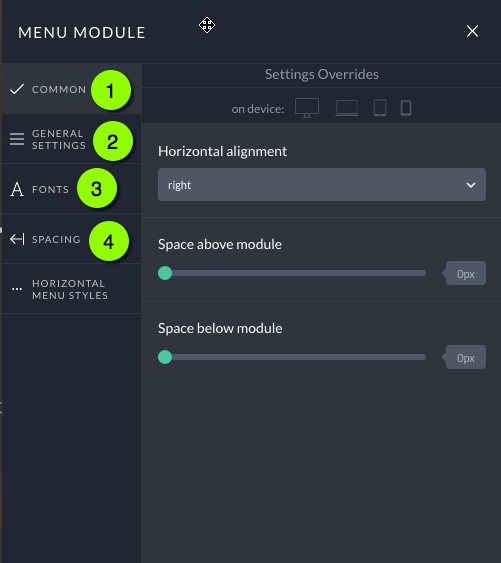
- Common – In this tab are very basic settings for setting the alignment of the menu, and setting spacing above/below the menu module itself. See screenshot above.
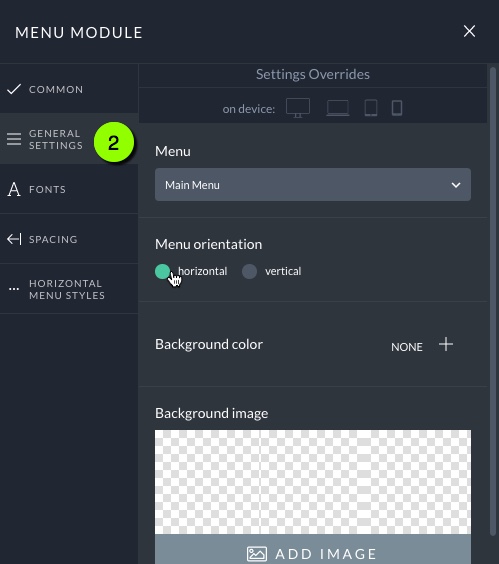
- General Settings – This tab allows you to select a different menu than the one added, set the orientation of the menu to be horizontal or vertical, as well as set the menu background color and/or background image.
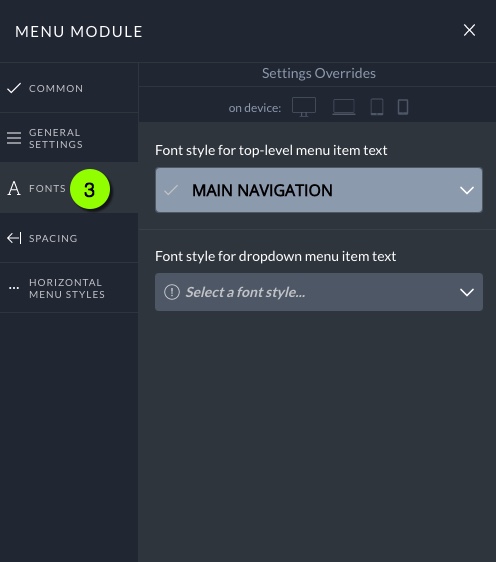
- Fonts – Here you can set the font style of the menu items and any sub-menu/dropdown items.
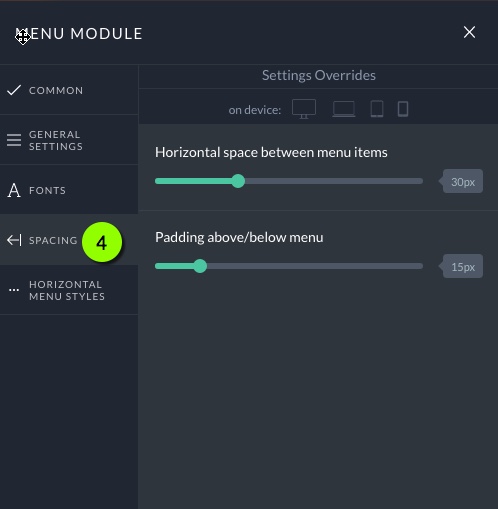
 4. Spacing – The Spacing settings area allows you to control the spacing between menu items, as well as set padding above/below the menu.
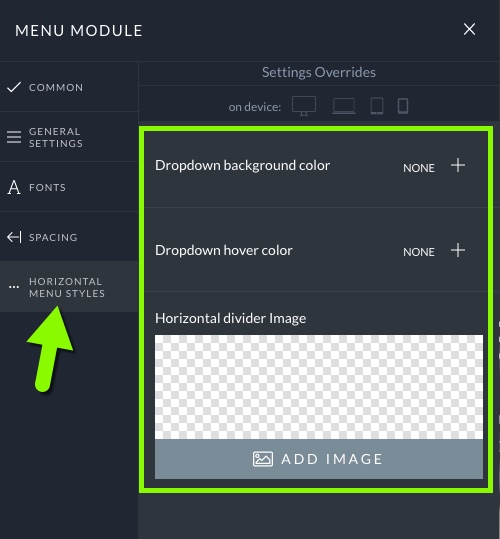
Then, as mentioned, different options are provided depending on whether you have chosen your menu’s orientation to be horizontal or vertical. If your menu is selected to display horizontally, the Menu Module options allow you to select options for the dropdown menu items as well as set a divider image for the horizontal menu items:
Otherwise, if you set your menu to display vertically in the General Settings tab, you will see some different option tabs appear, including the option to nest sub-menu items if you’d like:
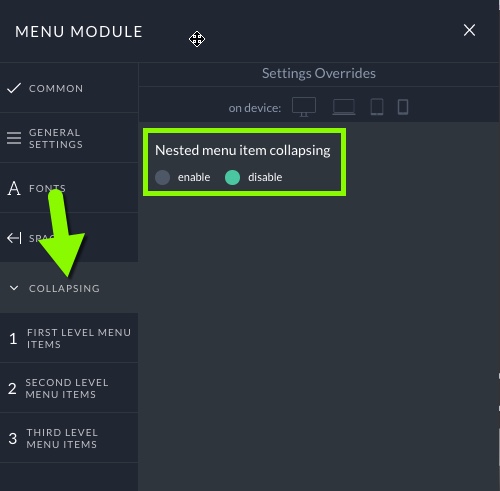
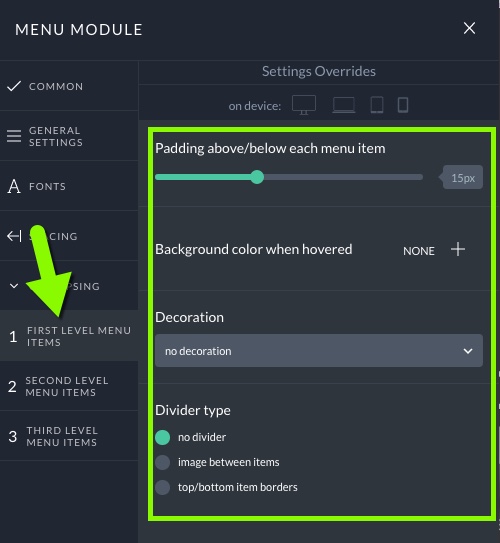
As well as styling options for first, second and third level menu items: