
Moving your site from your main directory to a sub-folder
If you’re wanting to change your site address from something like www.my-domain.com to www.my-domain.com/blog, this is what you’ll want to do:
Step 1 – Change your Site’s Address in WordPress:
Log into your WordPress admin area, and go to “Settings” > “General”. Then change both the WordPress Address and Site Address fields from their current address:

to what you want them to be:
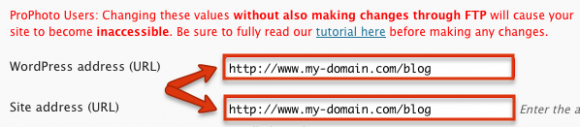
You’ll see the warning message from us not to make changes unless you understand what you’re doing….but hey….that’s why you’re reading this tutorial so you’re good to proceed!
After you’ve changed these fields, click “save changes” on the bottom of that page. Doing so will kick you out of your WordPress admin area and give you an error message and make your site look goofy. That’s ok, don’t worry, that’s what’s supposed to happen.
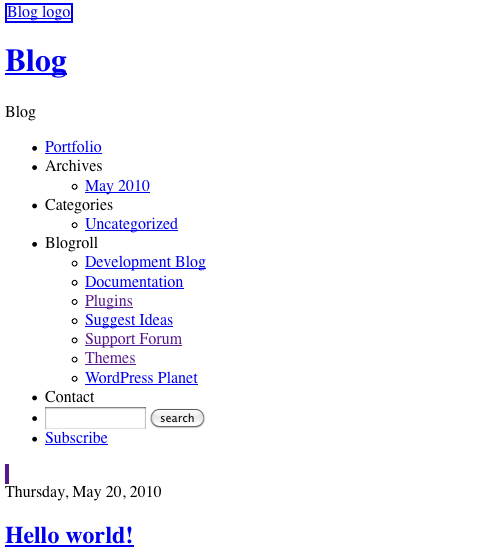
It looks bad now, but don’t worry, we’ll get your blog back!
Step 2 – Move your Site’s Files:
Don’t know FTP credentialsNext, you need to use FTP to get into the main directory of your domain. In most cases, this will be your whatever your hosting company uses as the root directory of your hosting account (“public_html”, “html” and “httpdocs”, are common folder names used for these areas. You may have to contact your webhost if you can’t figure this out).
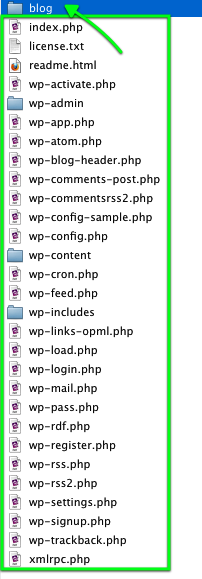
Within that directory, you need to create a new directory (sometimes referred to as a folder), named what you want your blog’s address to be. So if you created a new directory named “blog”, your site’s address would be “http://www.my-domain.com/blog”. Finally, move all of your WordPress files and folders, shown here:
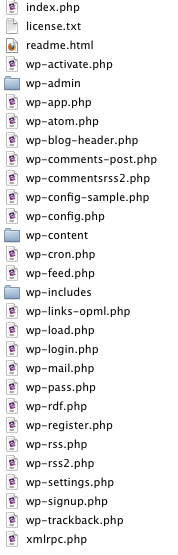
into this new directory:
Scared of FTP? Hosts usually have an option for moving your site with their file manager.
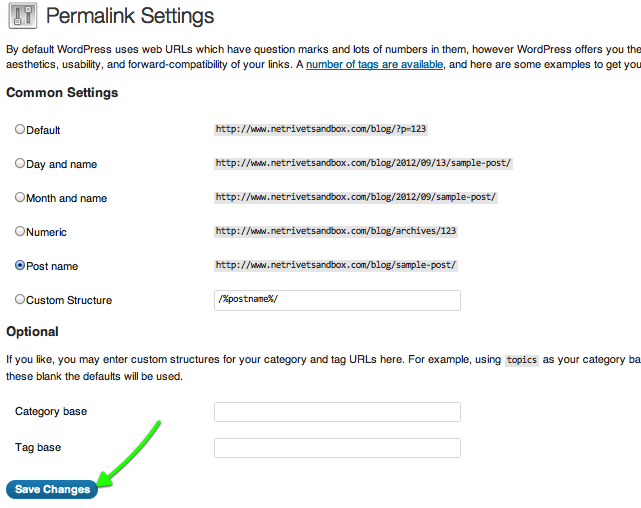
Step 3 – Save your Permalink Structure
If you are using a custom permalink structure, go to “Settings” > “Permalinks” and click “save changes” there. This should trigger your host to update the configuration file that controls your permalink structure.
Congratulations, you did it! Your site address is changed and everything should be just as it is before! If it is not, then feel free to contact us directly so we can diagnose.
Still no luck?
 If it is different, change it to the new WordPress folder name you want to use and then save the file.
  If your WordPress installation is at the root level, then these areas should be empty and it should look like this.
Optional (but recommended) steps
- Update Directly Entered Links
If you had previously created any links to a location on your site directly entering in its url, then you will want to change each one of those to match your new domain name structure. So if you were linking to a page at http://my-domain.com/cool-weddings, then you will want to change the domain name to http://my-domain.com/blog/cool-weddings
- Set up a redirect with your Host
To preserve any previously existing incoming links from social media sites or other blogs and websites, you will want to set up a 301 wildcard redirect on your old domain. Without this, those links would take users to a 404 “Not Found” page. A normal redirect will send any link from your old domain to the root of your new domain (“mydomain.com/wordpress/weddings/mary-and-joseph” would be redirected to “mydomain.com”). If you can set up a “wildcard” 301 redirect, this will send links to your old domain to the equivalent address on your new domain (“mydomain.com/wordpress/weddings/mary-and-joseph” would be redirected to “mydomain.com/blog/weddings/mary-and-joseph”). Redirects are managed via your webhosting account, so you can contact your webhost customer support for help setting this up.


