
Step 1 – Choosing/Importing/Installing your design
The very first thing we recommend doing after getting ProPhoto installed and running is to head to the “ProPhoto > Manage Designs” screen:
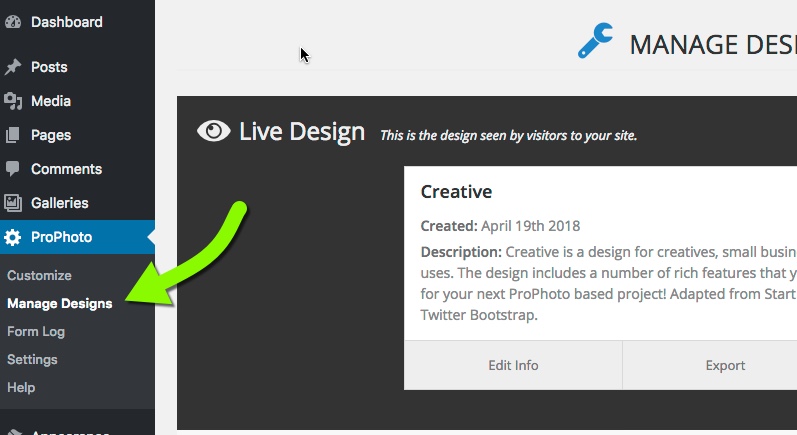
This is where you will choose which design you’d like to use as a starting point for your site’s design. You can select from any of the included designs shown here. Or, if you were a P6 user, you can import any of your ProPhoto 6 designs into ProPhoto 7 in this area. See here how to import:
Or, if you’ve purchased an add-on design from our store, you can upload that here to work on it. Our Create and Manage Designs tutorial provides more detailed information about this area of ProPhoto and how it all works.
By default, the initial Live Design (or Customizing Design if you’re running in Test Drive mode) for your site is called Creative. If you don’t want to use this design as your Live Design, simply create another design and make it live instead.
Just be aware that you can always come back to this screen to create new designs and switch which designs is your Live Design and which is your Customizing Design. So, when you come here for the first time, it may be a good idea to start customizing with a “test” design that you use to play around with ProPhoto and get more comfortable. Then, when you feel more comfortable with how it all works, you can simply return and create another design; one that you intend to actually use for live display.
I have selected my design, take me on to the next step. (click Next)
Step 2 – Creating new content (if needed)
Before you begin designing your site, it’s good to have a framework of some basic pages. The good news is that once you select your new design, all of the pages needed by the design should automatically be created for you by ProPhoto. In case you need any additional pages though, you can create them by going to the “Pages > All Pages” area in WordPress and simply clicking the Add New button. You don’t have to worry about the actual content of each page right now, and of course you can create new pages at any point in the future too if you want. Generally, a good place to start is to think of all of the top-level menu links that you’d like on your site and create pages for each of those links that don’t already exist. For example:
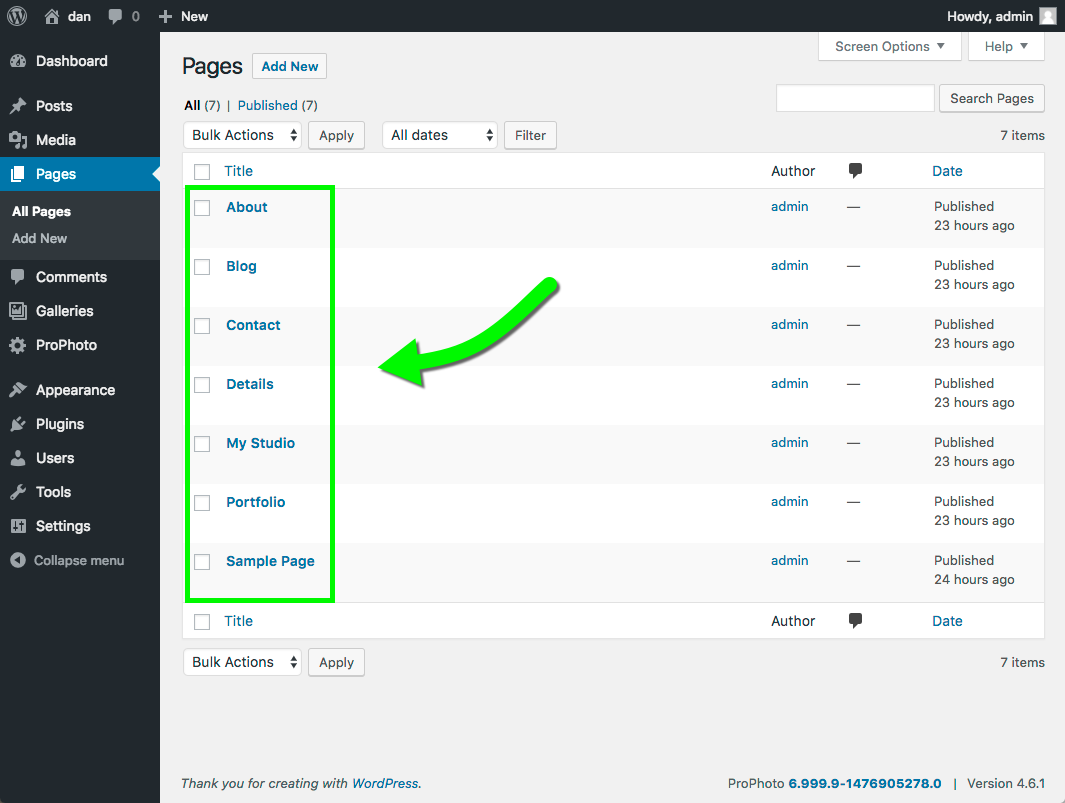
Here are all of the pages created so far…
I think I have all of the pages I need for my site right now, let’s continue! (click Next)
Step 7 – Various WordPress settings setup
There are some basic settings in your WordPress admin area that are worth visiting when setting up your site. They are:
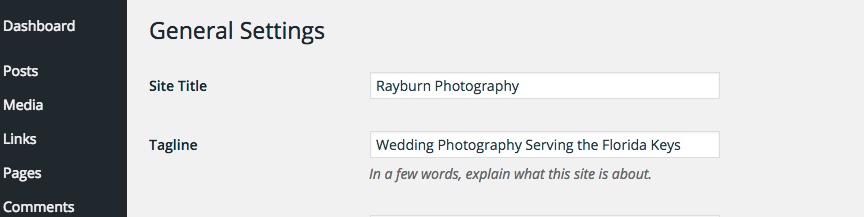
- Site Title/Tagline – Head to “Settings > General” in your WordPress admin area and enter a short title for your site in the Site Title field. Similarly, in the Tagline field, enter a short description of your site.
 Just be careful not to stuff a ton of keywords since search engines can downgrade sites that do so. When you are done, just click the Save Changes button at the bottom.
 - Timezone – In the same “Settings > General” area, check the Timezone setting and make sure it is correct for your location.
- Permalinks – Go to “Settings > Permalinks” to set up your sites permalinks as you’d like them to appear. This is what controls how your site’s URL slugs appear.
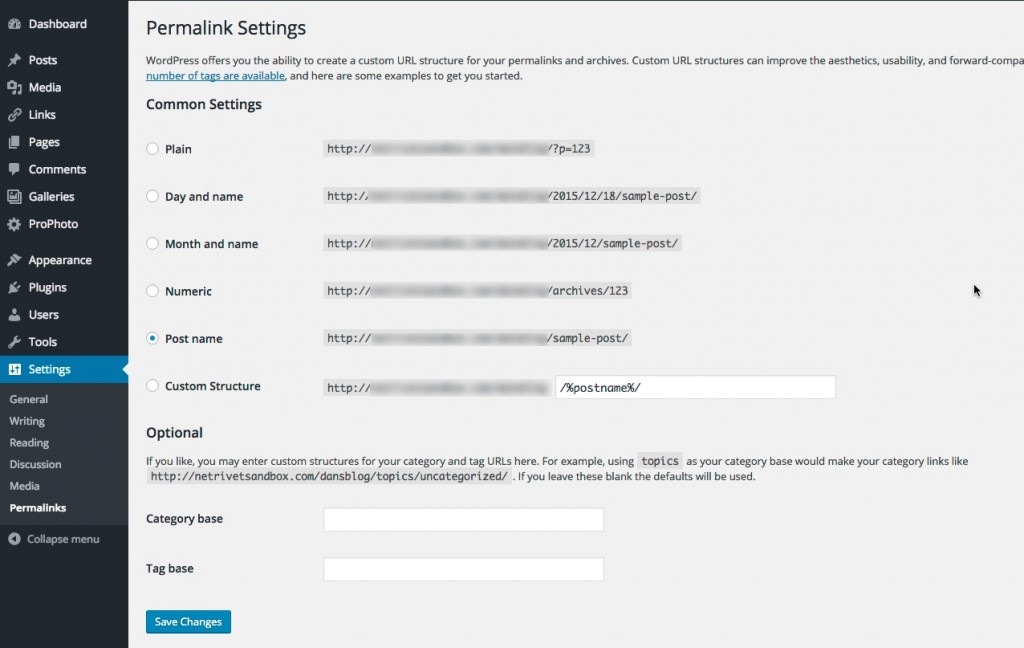 For example, say you have a page titled “About Me.” With Plain permalink settings, the URL for the page may appear as:http://www.mysite.com/?p=123. With the Post name option selected, the URL would be:http://www.mysite.com/about-me. WordPress has a lot more detailed information about permalinks if you are interested.
Additionally, it would be worth familiarizing yourself on how to backup your site. Remember, as the site owner, you are responsible for making sure your site is backed up.
Alright, I got these WordPress items all taken care, let’s finish this thing! (click Next)


