
Since WordPress 3.6 it’s been easy to have a song play on a selected post/page. Simply upload the song file in the “Add Media” area of a post/page and then insert the song directly.
Start by clicking the “Add Media” button when editing a page or post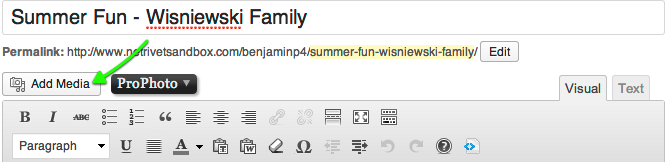
Then, use the “Insert Media” > “Upload Files” > “Select Files” area in the popup to upload your mp3 audio file.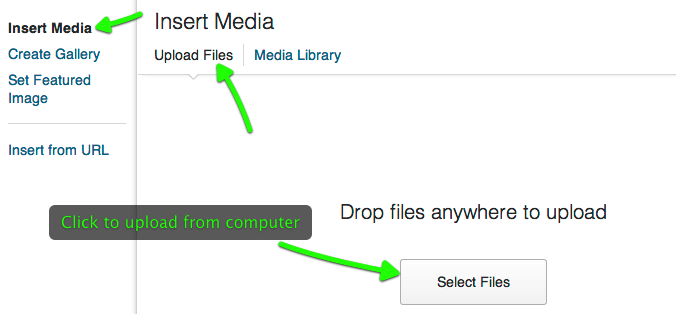
Alternately, you can drag-and-drop the file into the upload area.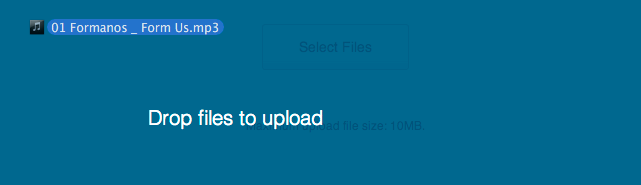
If your file is too large, your web server might warn you and you’ll need to upload it via FTP instead.
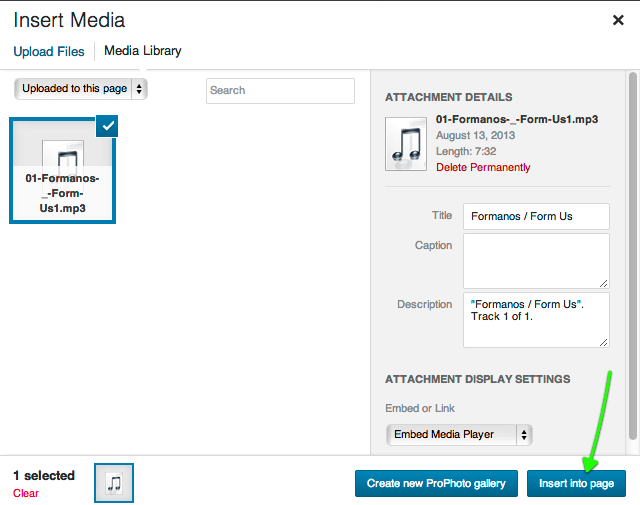
Edit the audio file attachment information if needed, and click “Insert into page” in the bottom corner.
This will add your audio in your page as a media player, looking like this:
This is an example of the WordPress audio player control
When you publish your changes, visitors will see a player they can use to listen to the audio.
Autoplay and loop
What if you want your audio to play automatically when the page loads? And what if you want the audio to repeat/loop again once the file has played completely? WordPress lets you do that, but you’ll need to edit the ‘shortcode’ it inserts into your page.
Start by clicking to edit your post in “Text” view – this is a tab at the top-right of your editor box near the toolbar:
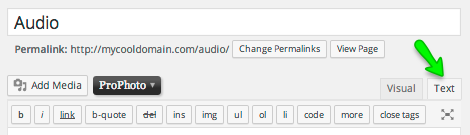
Click the “Text” editor tab to modify your page directly
When modifying your page in Text view, you’ll look for the audio shortcode, that should look something like this:

To have the song play automatically and loop you can add the attributes “autoplay” and/or “loop” like seen in this example:

Player appearance
Here is another example of what the default player looks like, showing playback progression in orange and ‘buffered’ amount in blue. We aren’t able to provide advanced technical support for customizing the styling of this player, but you can use CSS code to change the styling. Here is some example code to change colors (orange and blue color of the playback bar):
.mejs-time-current {background-color: #aabbcc !important;} /* WP audio playback color */

.mejs-time-loaded {background-color: #ddeeff !important;} /* WP audio loaded color */

.mejs-controls {background: #123456 !important;} /* WP audio player bg color */
The first line changes color 1 used to show playback progress, (orange) while the second line changes color 2 used to show the loading progress during playback, (blue) and the third line changes the background color of the black background. Use different color codes in place of the “aabbcc” or “ddeeff” or “123456” to override the colors.
If you need to hide aspects of the player, or change it’s size, here are some more useful examples you can work with:
.wp-audio-shortcode .mejs-time {display: none !important;}

.wp-audio-shortcode .mejs-time-rail {display: none !important;}

.wp-audio-shortcode .mejs-volume-button {display: none !important;}

.wp-audio-shortcode .mejs-horizontal-volume-slider {display: none !important;}

.wp-audio-shortcode {width: 150px !important;} /* change player width */
The first line hides the current time & total time readout.
The second line hides the time ‘rail’ progress bar.
The third line hides the mute/volume button.
The fourth line hides the volume level/slider control.
The firth line changes the width of the player, and you should coordinate the “150px” number with the actual width of the player with all the buttons. This really only works when you hide the playback progress bar, since it has a fixed width based on the width of your content.
Paste your code in ProPhoto here:
“ProPhoto” > “Customize” > “Advanced” > “Custom Code” > “Custom CSS”
For further customization, please research using CSS code on your own, or look for a WordPress Plugin created to provide styling control over this player bar.
Also, see this WordPress tutorial for more information about the player:
http://make.wordpress.org/core/2013/04/08/audio-video-support-in-core/


