
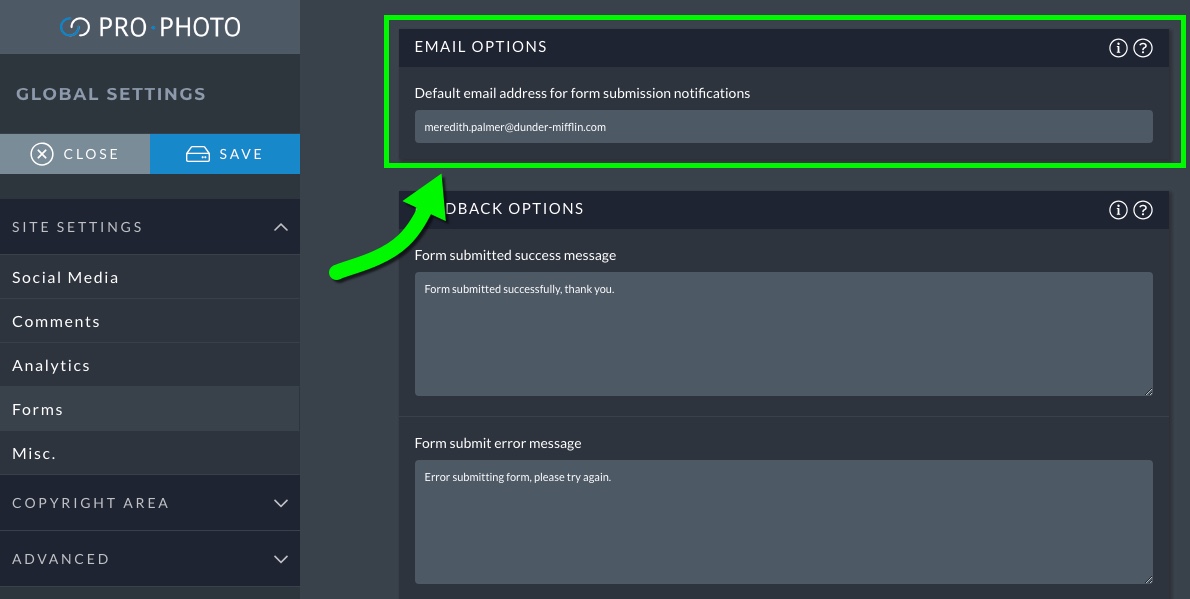
When a ProPhoto Form is filled out by a visitor, their message is 1) stored in the “ProPhoto > Form Log” area of your site, and is also 2) sent to the email address you have setup in the “ProPhoto > Settings > Site Settings > Forms” screen.
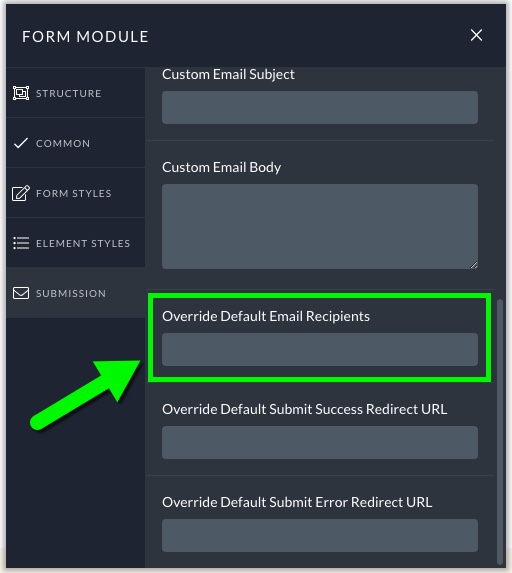
If you prefer that different forms on your site are sent to different e-mail addresses, you can use the “Override Default Email Recipients” option in the “Submission” tab of the Form module:
By default, the email message you receive from your form is formatted very simply, using a simple email subject line and the body created by placing each field label and field entry on a new line. For example, a form with a few questions might be formatted like this by default:
SUBJECT:
Form submission from December 26, 2018 2:30 pm
BODY:
Name: Ron Swanson
Email: ronald.swanson@pawnee.in.gov
Favorite Restaurant: Mulligan’s Steakhouse
Message: I need a photograph. It must be good. What will it cost?
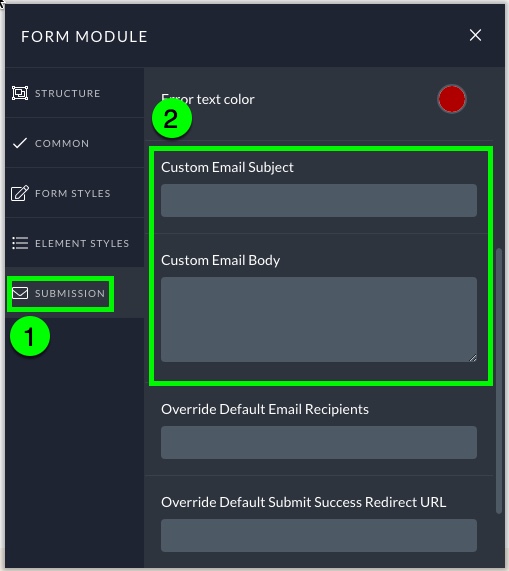
This form submission captures all four fields neatly, but what if you want to format the subject or body differently? To do so, edit your form module and use the “Custom Email Subject” and “Custom Email Body” options within the “Submission” tab.
You can create a custom email subject line, a custom email body, or both by using two types of text in these fields:
- static text – Any text you type in will be used exactly as-is in the email subject/body.
- dynamic text – Using admin identifiers, you can pull in specific text from the form submission.
To use dynamic text, start by setting up/editing your form fields with identifiers you can use in the subject line and body.
Setup the field admin identifiers
When you create a form, you can type an admin identifier for any form field. For example:
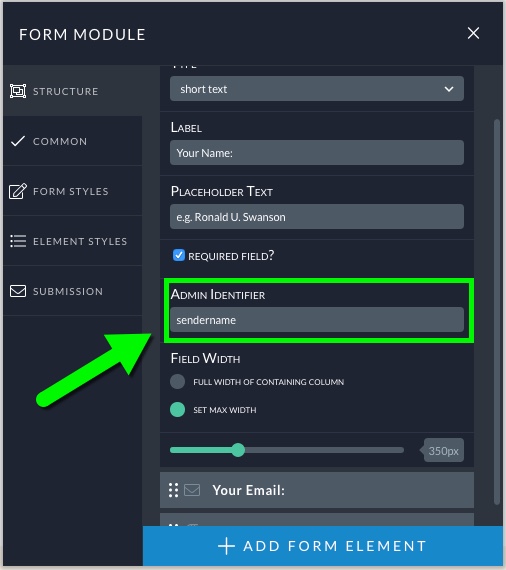
Create case sensitive custom identifiers for each field that you wish to display in your custom email subject line or body.
Customize the form submission format
Once you’ve created your admin identifiers, they can then be used in your custom email subject/body by surrounding with double curly braces, for example:
{{sendername}}
Also, there are two defaults you can use automatically:
- {{date}} this shows the date the form was submitted by the visitor
- {{time}} this shows the time the form was submitted by the visitor
To customize the subject line or body of your form message, use a combination of static text and admin identifiers like this example:
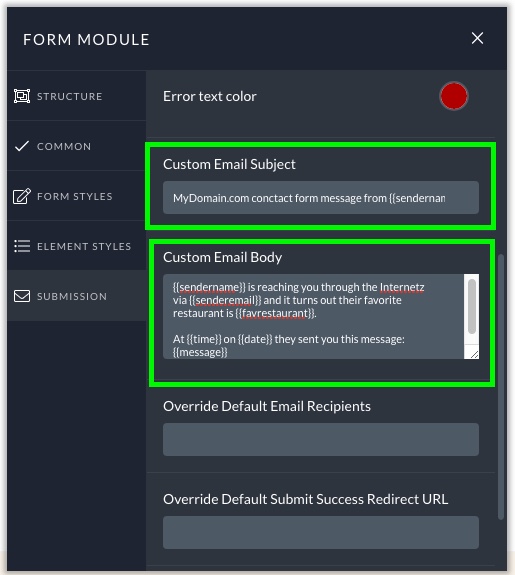
The result being (admin identifiers colored red for clarity):
SUBJECT:
MyDomain.com contact form message from {{sendername}}
BODY:
{{sendername}} is reaching you through the Internetz via {{senderemail}} and it turns out their favorite restaurant is {{favrestaurant}}.At {{time}} on {{date}} they sent you this message:
{{message}}
When the email is received, your custom subject line and body will be filled in by the submission. The example structure above would come through as an email like this: (admin identifiers colored red for clarity)
SUBJECT:
MyDomain.com contact form message from Ron Swanson
BODY:
Ron Swanson is reaching you through the Internetz via ronald.swanson@pawnee.in.gov and it turns out that their favorite restaurant is Mulligan’s Steakhouse.At 2:30 pm on December 26, 2016 they sent you this message:
I need a photograph. It must be good. What will it cost?
You can provide a custom format for the email subject without changing the default format of the body, if you want. Or you can customize the email body without changing the subject line. Or you can change both – it’s up to you.
NOTE: If you create a custom email body, make sure to use each form field! Any missing fields will not be added to the message body. Also, be sure to update your form custom body if you add a new field to the form later on!


