
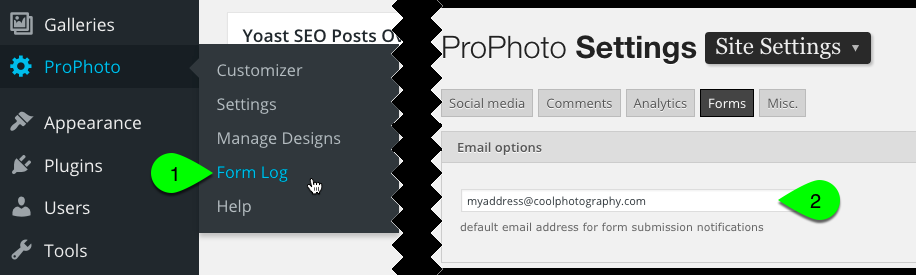
When a ProPhoto Form is filled out by a visitor, their message is 1) stored in the “ProPhoto > Form Log” area of your site, and is also 2) sent to the email address you have setup in the “ProPhoto > Settings > Site Settings > Forms” screen.
By default, the message is formatted very simply, using a simple email subject line and the body created by placing each field label and field entry on a new line. For example, a form with a few questions might be formatted like this by default:
SUBJECT:
Form submission from August 23, 2016 2:30 pm
BODY:
Name: Jeremy Sanders
Email: jeremys@hotmail.com
Favorite Color: Blue
Message: Hi, your photography is amazing. I was wondering if you might be available on September 32 to photograph my portrait. I was thinking I might hold a bowl of blueberries and hold my breath until I turn blue because my favorite color is blue. Let me know, thanks.
This form submission captures all four fields neatly, but what if you want to format your visitor’s subject or body differently?
You can create a custom email subject line, a custom email body, or both by using two types of text:
- static text – any text you type in, used as-is in the email subject/body
- dynamic text – text coming from the form submission, using admin identifiers
Start by setting up your form fields with identifiers you can use in the subject line and body.
Setup the field admin identifiers
When you create a form, you can type an admin identifier for each field. The identifier you create can be used by surrounding it with double curly braces, like this example:
{{sendername}}
Create your own case sensitive custom identifiers for each field if you want to use the field entry in a custom email subject line or body. Also, there are two defaults you can use automatically:
- {{date}} this shows the date the form was submitted by the visitor
- {{time}} this shows the time the form was submitted by the visitor
Customize the form submission format
The subject line and body of form emails can be tweaked to your needs. Simply click the Form Settings gear to open the editor, shown in this clip:
To customize the subject line or body of your form message, use a combination of static text and admin identifiers like this example: (admin identifiers colored red for clarity)
SUBJECT:
MyDomain.com contact form message from {{sendername}}
BODY:
{{sendername}} is reaching you through the Interwebz via {{senderemail}} and it turns out that their favorite color is {{favcolor}}.At {{time}} on {{date}} they said:
{{message}}
When the email is received, your custom subject line and body will be filled in by the submission. The example structure above would come through as an email like this: (admin identifiers colored red for clarity)
SUBJECT:
MyDomain.com contact form message from Jeremy Sanders
BODY:
Jeremy Sanders is reaching you through the Interwebz via jeremys@hotmail.com and it turns out that their favorite color is Blue.At 2:30 pm on August 23, 2016 they said:
Hi, your photography is amazing. I was wondering if you might be available on September 32 to photograph my portrait. I was thinking I might hold a bowl of blueberries and hold my breath until I turn blue because my favorite color is blue. Let me know, thanks.
You can provide a custom format for the email subject like without changing the default format of the body, if you want. Or you can customize the email body without changing the subject line. Or you can change both – it’s up to you.
NOTE: If you create a custom email body, you must use each form field! Any missing fields will not be added to the message body. Be sure to update your form custom body if you add a new field!


